Corel Bezier Tool Introduction
In this tutorial you’re going to learn the basics of using the Bezier tool to create lines. Let’s start by opening a new document in Corel.

You can save your file as whatever you like. I’m going to save this file as Corel Bezier Tool.

After saving go directly to your Bezier tool.

There are two types of lines that you can create with the Bezier tool, straight lines and curved lines. To create straight lines simply click on the page. When you click a node appears representing the control point you just placed. As you continue to click nodes are placed on the page defined by small squares and line segments are created between each one. The final node you click will remain highlighted until you click off of the object.

To complete the shape move the tool so that it sits directly over your first point. You’ll notice that the icon changes to a bent arrow when you are directly over this first point.

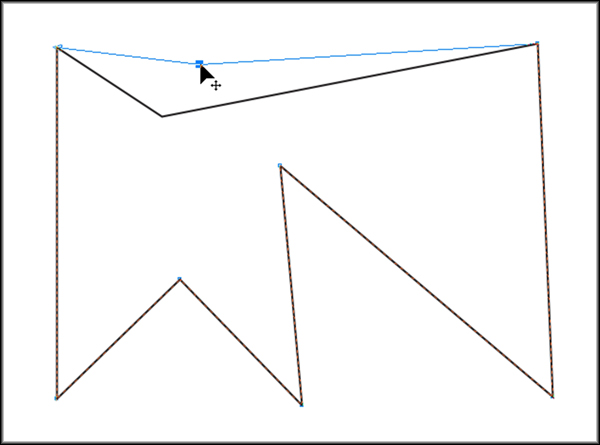
Click the point and the shape is now considered closed. You can also close the shape by clicking on auto-close curve in the property bar at the top of the screen. If you want to leave the path open, simply click another tool. To adjust the points within the shape, choose the shape tool...

...mouse over the point that you want to edit, then click and hold. Now you can move the point to where you want it.

In Corel X5 you can create lines in any 15° increment by holding down the control key and clicking your second point in the area of where the 15° would be. For instance here I have create perfect 90°, 45° and 0° lines. You can create angles at 0°, 15°, 30°, 45°, 60°, 75° and 90°.

To create curved lines is the same basic process. Click your first control point as before. On the second point click and drag. This creates a curve between your first and second point.

Click again and then click and drag. The handles that appear show you the direction that the curve is taking and also influence the shape that is created with the next click.

To edit the curves choose the direct selection tool and click on the node that you want to edit.

With curves you are not only able to edit the control point itself, but you can also edit each handle so that you have great control over the placement of your lines.

Holding down the control key also works when creating curved lines. Click the first point, click the second point and then hold down the control key as you drag out from the point to create your desired curve. As you move the handle around you can see that the curve locks to the 0°, 15°, 30°, 45°, 60°, 75° and 90° angles as you drag the curve around the point.

All vector art is based around the manipulation of these simples nodes or points. Practice these exercises until you feel familiar with the tools and you’ll soon be ready to put them to practicle use creating your own vector images. Next I suggest moving on to Creating a Simple Logo Using Corel’s Bezier Tool.


